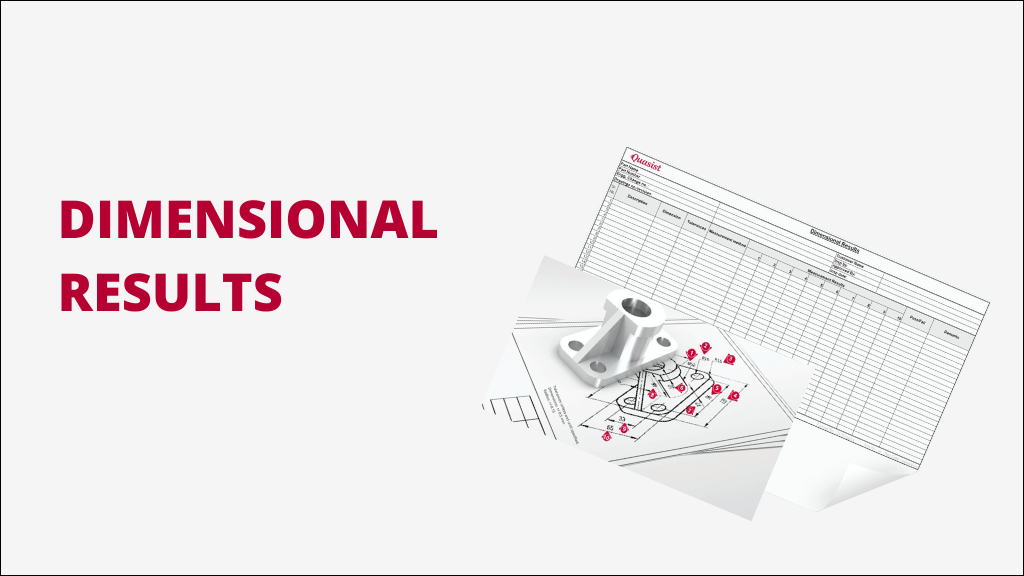
In manufacturing industry, meeting product quality is more important to stay in market and customer satisfaction. One of the elements of Production Part Approval Process (PPAP) is Dimensional Result section. This dimensional report shows us the actual performance of your process and your part meets design specification or not.
In this article we will see exactly what is and How dimensional report created and maintain in your PPAP documentation.
Let’s dive in….

What is Dimensional Results in PPAP?
Dimensional result is kind of inspection report where all measurements are taken from a PPAP sample parts, and those dimensions will be verify against the design specifications.
What are the dimensions considered in dimensional results?
Critical Dimensions: These are the important design features responsible for part function and fit.
Major Dimensions: These are significant characteristics responsible for product performance.
Minor Dimensions: Other characteristics and design features less impact on functionality.
The goal of results is to validate that our manufacturing process produces good quality parts that meets customer design specification and tolerances. First two category are called as significant and critical characteristics of your product.
Why Are Dimensional Results Important?
Dimensional Results are very important for many reasons. Some examples are:
- Customer satisfaction: The reports present to customers and it shows that the parts meet all specific requirements.
- Process Validation: Results shows us the actual dimensional output from process. And it confirms that the manufacturing process is capable to produce parts within the drawing tolerances.
- Defect Prevention: You will get to know any dimensional deviations early before PPAP release and you can correct it early in development phase.
- Compliance: It is one of the requirement of PPAP and also recommended by Quality Management Systems and certifications, such as IATF 16949:2016.
How to Create Dimensional Results
1. Understand Customer Requirements
Very first step in creation of dimensional result is to understand your product design. The design records is all you need to understand it.
In part drawing you have to know which dimensions you are going to measure. Sometimes customer gives you the idea on which dimensions you need to measure and control with tolerances.

First you have to give numbers to each characteristic by ballooning the drawing. Understand all design features with tolerances.
2. Select Representative Samples
Take sample parts from your production run. The sampling should cover the entire production run to capture variation. This helps to validate the consistency of your manufacturing process.
3. Use Correct and Accurate Measuring Equipment
Select suitable measurement equipment based on what characteristics you need to measure. Also you need check that all measurement equipment should be Calibrated and correct.
MSA should be done to ensure that your measurement system is precise and accurate.
Once you have measurement equipment, parts and method of measurement, then next step will be to do the measurement and document the results.
4. Document Results Clearly
All measurement results you need to document and have to share with customer. Then you must need a dimensional result report to document it.
Dimensional Result Report Format / Template
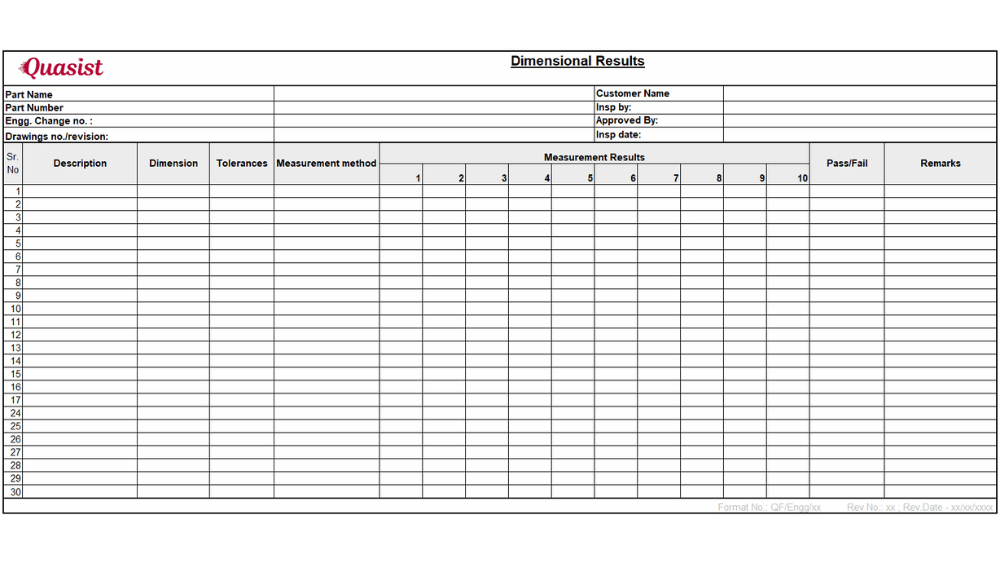
Measure data recorded into result report and this report must have some elements, such as:

Download Dimensional result report template

- Header Section: This section must have your company logo, part name, part number, drawing number, revision, engineering change number, Customer name, inspected by and approved by information.
All these information gives us a better understanding about the product and customer status.
- Serial Number: It is a clear reference to the part drawing with all dimensions marked and ballooned. It is for dimension traceability with drawing.
- Dimensions with Description: Write all dimensions as mentioned on drawings considering the name of dimension. For example diameter, length, etc.

- Tolerances: Includes tolerances of respective dimension according to drawing.
- Measurement Method: Select and mention details of tools and equipment you are using for measurement. For example, Vernier Caliper, Micrometers or Coordinate Measuring Machine (CMM).
- Recorded Measurements: These fields to record all your measurement results. Write all measured data for respective samples.
- Pass/Fail Status: Based on tolerance do analysis that your measured data is within tolerance band. If all parts are within tolerance then the respective dimension is pass and if any one of the part fail or all part fail to respective dimension then write as fail.

5. Include Supporting Evidence
If required you must attach part drawings, photographs, and records of measurement tool calibration to have a traceability.
Common Challenges face during creation of dimensional results
1. Measurement Inaccuracy
- Challenge: This one is most common challenge that measurement equipment have a variations due to equipment issues or operator error.
- Solution: Always use calibrated instruments and trained operators/inspectors. You can automate your complex measurement using CMM.
2. Non-Conforming Parts
- Challenge: You get defective parts for inspection and results are out of tolerances.
- Solution: Timely investigate root causes and implement corrective actions before PPAP resubmission
3. Complexity in Recording and Reporting
- Challenge: Complex system or parts have too many dimensions. Managing those dimensions are very difficult and challenging.
- Solution: Now a days many software are available to smooth data recording and its easy to document and report.
Best Practices for Dimensional Results
- Standardize Measurement Procedures: Create and follow a standard inspection procedure / method for taking and recording measurements results.
- Regularly Calibrate Equipment: Ensure all measurement tools are calibrated and verified.
- Customers communication: Have a clear communication with customer to understand their requirements from dimension perspective. This helps to avoid any future additional work or rework.
- Review Data Thoroughly: Double-check all measurements and documentation before customer PPAP submission.
Insights
Dimensional results is one of key document of PPAP submission. Every automotive company must create this report in their PPAP run and get approval from customer. As a quality engineer you should have a detail understanding of it and it is more relevant topic for your career.
For more insights on quality tools and techniques, explore other articles on our website, and stay ahead your career in manufacturing excellence.


