First Off and Last Off Inspection (FOI & LOI) are best methods followed in manufacturing industry. It is used to control product and process quality to maintain customer satisfaction and confidence over the product.
These type of inspections is the part of in-process quality control. It helps to identify any deviation or defects in product quality. First off inspection helps in before starting production and last off inspection helps after production batch completion.
In this article, we’ll learn what First Off and Last Off Inspections are, why they are important, how they are conducted, and the benefits they bring to quality assurance in manufacturing.

What is First Off Inspection (FOI)? #
First Off Inspection (FOI) is the inspection process of the first produced part or sample from a production line/station. This inspection are done to verify whether first part meets all required design/drawing specifications and quality standards.
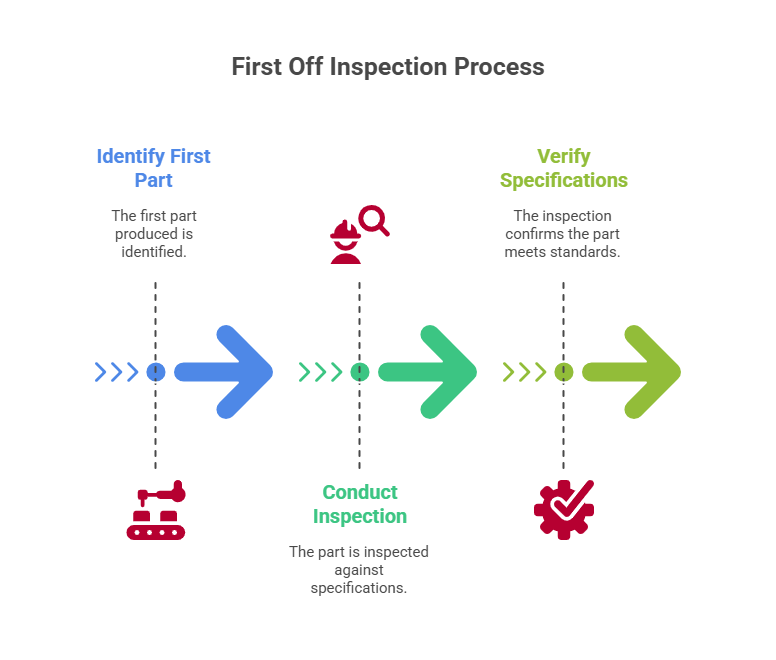
Purpose of first off inspection: #
- To validate the setup of machines, tools, and fixtures.
- It is done to confirm that the manufacturing process is producing parts within specification before full production begins.
- To identify and correct any issues/defects early, reducing rejections and rework.
When is it performed? #
- At the start of a production shift.
- After a machine changeover or tool/die replacement.
- During initial sample production of a new batch.
What does it involve in first off approval? #
- Visual inspection of part
- Dimensional verification using measurement devices (e.g. Vernier, Gauges, and many more.)
- Functional testing (if applicable)
- Review as per approved drawings, specifications, and control plans.
What is Last Off Inspection (LOI)? #
Last Off Inspection (LOI) is performed on the last piece or part produced from a production batch. It ensures that the final product is still within acceptable limits and that no defects/failure occurred during the manufacturing process. After last off inspection you can be confident that your first part is ok and last part is also ok, then there is a high confidence that your entire batch produced with all OK parts.
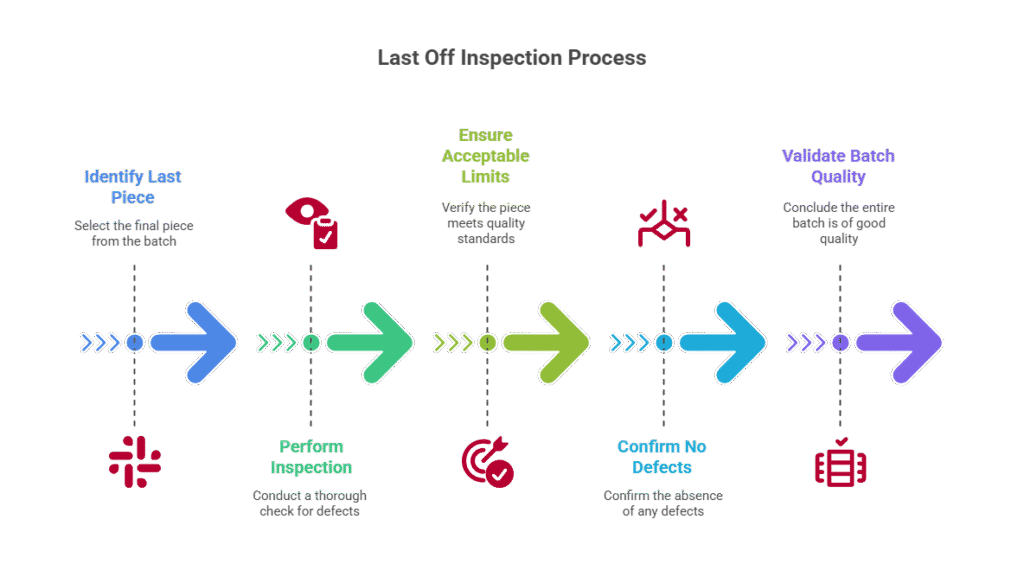
Purpose of last off inspection: #
- To verify consistency and good parts coming from the process till the end of the batch.
- It is done to ensure no tool wear or change affecting the final output.
- To use the last part of this batch/shift as a reference master part for future/next shift First Off Inspections.
When is it performed? #
- At the end of a production run or shift.
- Before changing over to a new product/variant or part number.
- Before disassembling the setup or tooling/fixture.
Why First Off and Last Off Inspections/approval Matter #
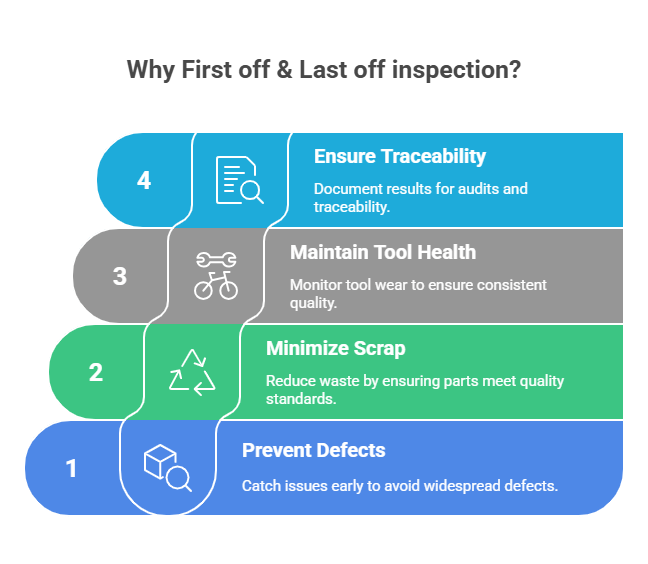
1. Preventing Defects at the origin
These inspections help to catch issues/defects at the earliest stages of production, which is important in high-volume or precision manufacturing.
2. Minimizing Scrap and Rework
By inspecting the first and last parts, it will verify the parts for defect. Therefore, manufacturers can avoid producing defective parts.
3. Maintaining Tool and Process Health
They help to monitor tool wear, machine wear, or setup mistakes that can affect product quality over time.
4. Providing Traceability and Documentation
These inspections generally have recording of dimensional results that provide traceability and support audits.
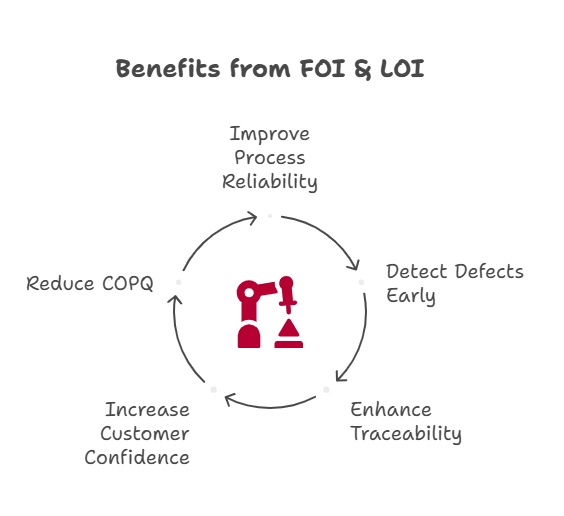
Benefits of Implementing FOI & LOI in Manufacturing
- Improved process reliability
- Early detection of defects
- Enhanced traceability and audit readiness
- Increased customer confidence
- Reduced cost of poor quality (COPQ)
How First and Last Off Inspections are Conducted #
Step-by-Step for FOI and LOI:
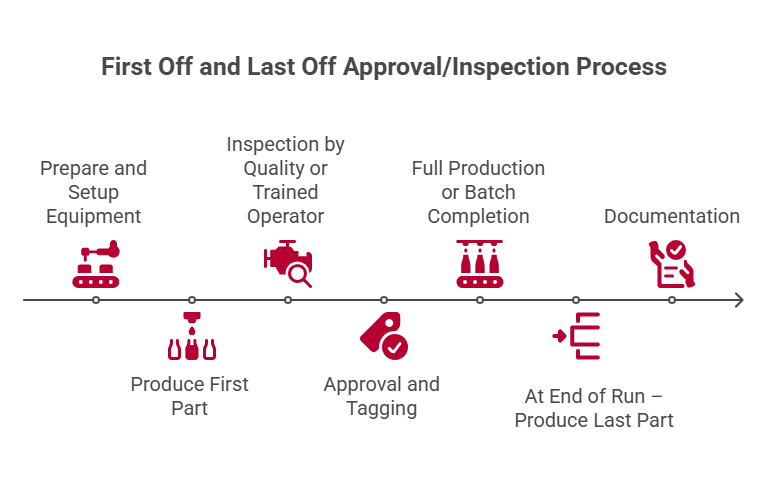
- Prepare and Setup Equipment
Operators set up the machine using documented setup/work instructions and approved setups. - Produce First Part
The first part is produced from work station under normal process conditions. - Inspection by Quality or Trained Operator
The part is inspected for all critical and significant characteristics as per control plan or first part inspection checklist. - Approval and Tagging
If the part passes its specification and requirements, it is tagged as “First Off Approved” and retained as a reference sample till next batches or as per retention policy. - Full Production or Batch Completion
Once the first part approved by inspector the production starts. Production continues only after First Off is approved. - At End of Run – Produce Last Part
At the end of shift or production, the last part is inspected and compared with the First Off. - Documentation
Both first off and last off inspection approval documented in checklist/report. Along with reports, samples also retain as per retention policy. This helps to compare with future production batches.
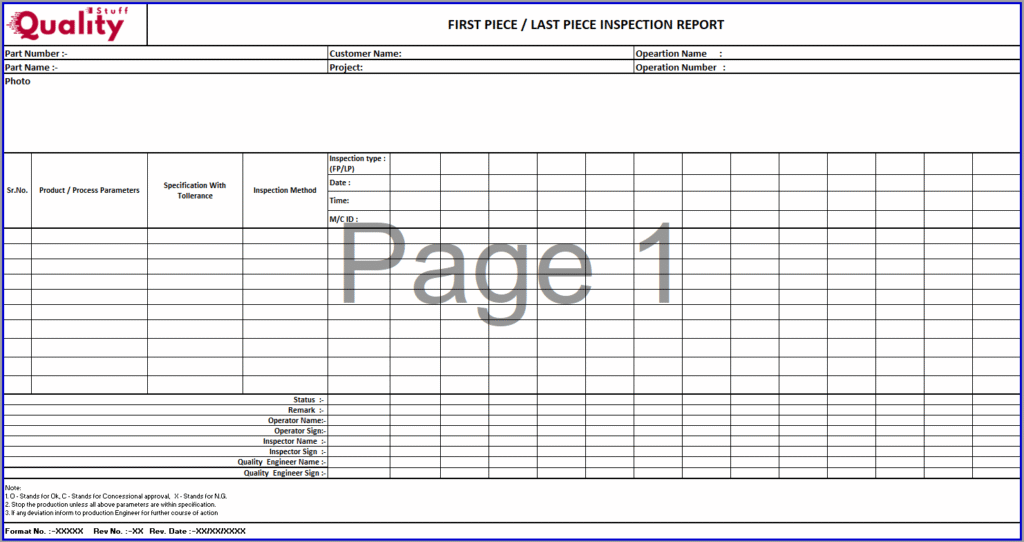
First off and Last off inspection checklist #
Please refer below inspection checklist for your reference. In this checklist use the row of inspection type. If your want to record first off inspection data then you can write as “FP”, and if you want to record last off inspection data the you can write as “LP”.
Best Practices you should follow for FOI and LOI #
- Use a standardized checklist for first off and last off inspection. Which covering all product and process parameters with inspection methods and result outputs.
- Store first and last off parts with traceability labels. This label should have the information about the date, shift and time as defined by your organization.
- Involve both operator and quality inspector as a part of validation and approval process.
- Make sure it is the part of Layered Process Audit (LPA) or internal process audit system.
- In some companies who followed the digital systems to record these data. They can record inspection results in a digital system or quality database. This is followed in Pharma, Aerospace type of industry. Where the severity of failure is more.
First Off vs. Last Off – Quick Comparison #
| Aspect | First Off Inspection (FOI) | Last Off Inspection (LOI) |
| When Performed | Start of production | End of production |
| Purpose | To Validate production setup & start-up. | To check and verify end production part for consistency of entire batch. |
| Outcome | First off approval is use for full production approval. | Last off closes the loop of production at end of shift or batch. |
| Sample Usage | First off samples are base for future comparison. | Last off parts are for all batch produced is OK. And reference for next first of inspection for next batch. |
Conclusion #
First Off and Last Off Inspections are part of in-process quality control. They help to ensure that production starts and ends with the correct parameters without any defects. By implementing FOI and LOI in your manufacturing process you are not only improves quality but also increase operational efficiency and customer trust.
Whether you’re in automotive, pharmaceutical, aerospace, electronics, or any other manufacturing domain, don’t ignore the importance of First Off and Last Off approvals.


